Chocolate Hazelnut Thumbprint Cookies
Highlighted under: Oven Inspiration
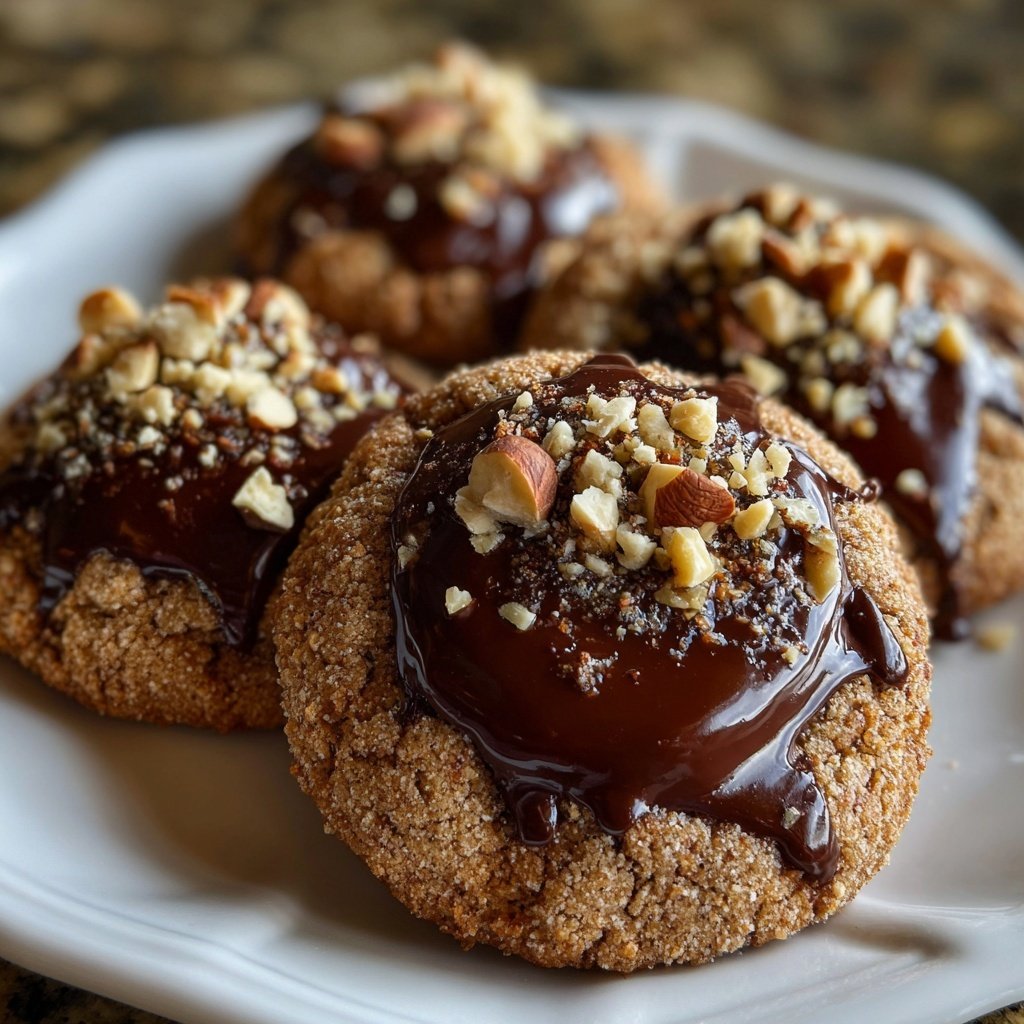
I absolutely love making Chocolate Hazelnut Thumbprint Cookies, as they're a perfect blend of creamy chocolate and crunchy hazelnuts. The way the chocolate filling contrasts with the buttery cookie base is simply irresistible. Every bite is a delight, and the thumbprint technique not only looks charming but also holds just the right amount of chocolate. These cookies are great for sharing or enjoying alone with a cup of coffee. Plus, they make for a wonderful homemade gift during the holidays or any special occasion!
When I first made these Chocolate Hazelnut Thumbprint Cookies, I was amazed by how simple the process was, yet how fancy they turned out. The rich hazelnut flavor pairs beautifully with the chocolate filling, creating a cookie that feels indulgent without being overly complex. One tip I discovered is to chill the dough before baking; it helps the cookies maintain their shape and makes them easier to handle.
Over the years, I've played around with different fillings, but I've always come back to the classic chocolate hazelnut spread. It’s just so smooth and luscious, and it complements the nutty flavor of the cookies. I also recommend using freshly ground hazelnuts for a more intense flavor and crunch!
Why You'll Love This Recipe
- Rich chocolate flavor paired with fresh hazelnut crunch
- Buttery texture that melts in your mouth
- Perfect for gifting, parties, or indulging yourself
The Art of Thumbprint Cookies
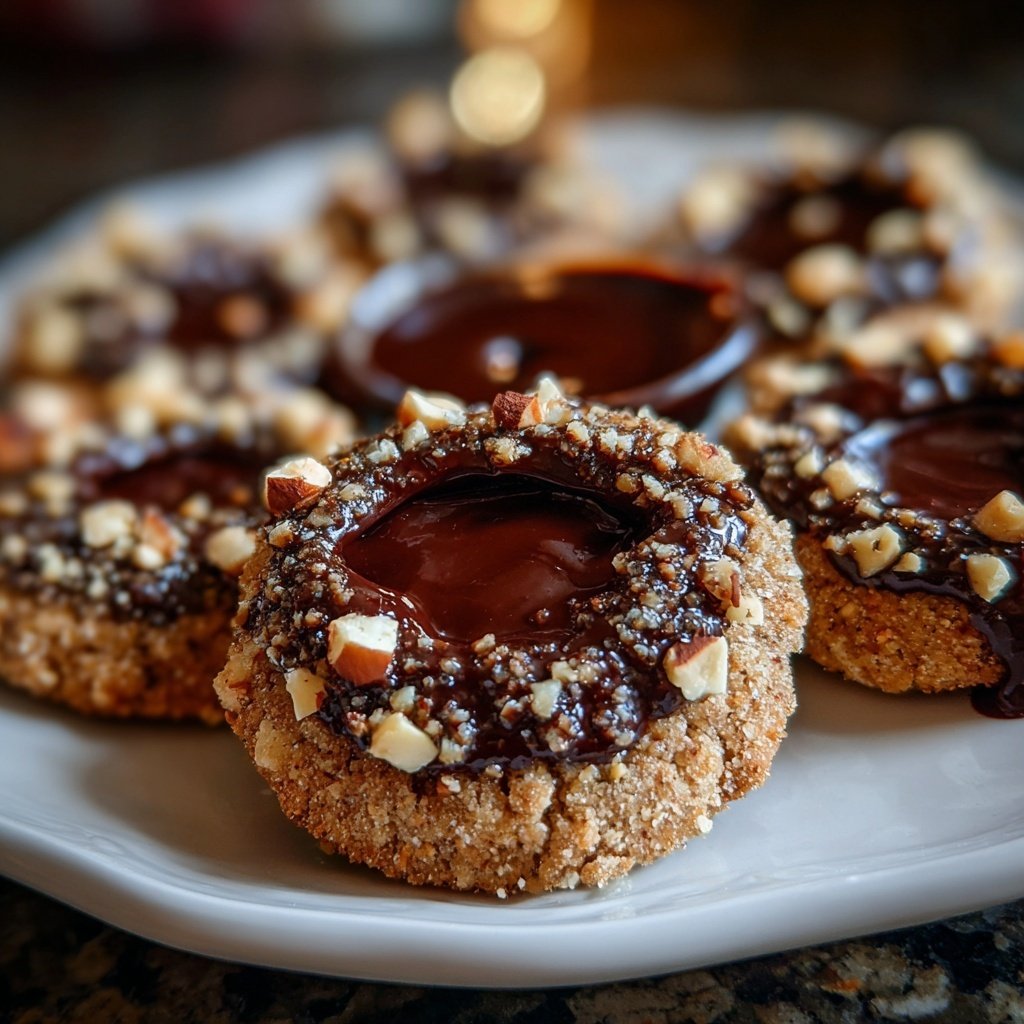
The thumbprint technique not only creates a delightful visual but also serves a crucial purpose in the recipe. The indentation holds just the right amount of chocolate hazelnut spread, ensuring each cookie has the perfect balance of flavors in every bite. When making the thumbprints, press gently but firmly into the center of each ball; this will create a sufficient well to hold the filling without breaking the cookie apart during baking.
For beautiful and consistent shapes, consider using a cookie scoop, which helps in measuring out even portions of dough. This can make rolling into balls easier and quicker. If your dough is a bit sticky, lightly dust your hands with flour or cocoa powder to prevent sticking when shaping the cookies.
Ingredient Insights
Each ingredient plays a specific role in the success of these cookies. The finely ground hazelnuts contribute not only to the rich flavor but also add texture, enhancing the overall mouthfeel of the cookies. If you can't find finely ground hazelnuts, you can process whole hazelnuts in a food processor until finely ground, taking care not to turn them into hazelnut butter.
Cocoa powder is essential for adding depth and richness to the cookies. Choose a high-quality unsweetened cocoa powder for the best flavor. If you're looking for a slightly different taste, experimenting with Dutch-processed cocoa can yield a mellower chocolate flavor, although it does alter the color of the cookies.
Making Ahead and Storage
These Chocolate Hazelnut Thumbprint Cookies can be made ahead of time, which is great when you're planning for a holiday gathering or special occasion. You can prepare the dough up to a day in advance and store it in the refrigerator wrapped in plastic wrap. Just allow it to come to room temperature for about 10-15 minutes before shaping and baking.
Once baked, store the cookies in an airtight container at room temperature. They will stay fresh for about a week. For longer storage, freeze the baked cookies in a single layer on a baking sheet. Once frozen, transfer them to a zip-lock bag for up to three months. Thaw them at room temperature when you’re ready to enjoy!
Ingredients
Gather the following ingredients to bake these delicious cookies:
For the Cookies
- 1 cup all-purpose flour
- 1/2 cup hazelnuts, finely ground
- 1/4 cup unsweetened cocoa powder
- 1/2 cup unsalted butter, softened
- 1/3 cup granulated sugar
- 1/4 cup powdered sugar
- 1 egg yolk
- 1 teaspoon vanilla extract
- 1/4 teaspoon salt
For the Filling
- 1/2 cup chocolate hazelnut spread
- 1/4 cup finely chopped hazelnuts (for garnish)
Ensure all ingredients are at room temperature for better mixing!
Instructions
Follow these steps to create your cookies:
Preheat the Oven
Preheat your oven to 350°F (175°C) and line a baking sheet with parchment paper.
Prepare the Dough
In a mixing bowl, cream together the softened butter, granulated sugar, and powdered sugar until light and fluffy. Beat in the egg yolk and vanilla extract. Slowly add the flour, cocoa powder, finely ground hazelnuts, and salt until combined.
Shape the Cookies
Using your hands, form the dough into 1-inch balls and place them on the prepared baking sheet. Make an indentation in the center of each ball with your thumb.
Bake the Cookies
Bake for 10-12 minutes, removing them from the oven when they are set but still soft. Allow them to cool slightly before filling.
Fill with Chocolate Spread
Using a small spoon, fill each indentation with chocolate hazelnut spread and sprinkle with chopped hazelnuts.
Enjoy your freshly baked cookies with a glass of milk or your favorite beverage!
Pro Tips
- Chilling the dough before baking will help keep the cookies from spreading too much. Feel free to experiment with different types of chocolate fillings or even fruit jam for a twist.
Troubleshooting Common Issues
If your cookies spread too much during baking, it could be a sign that your butter was too soft. Ensure that your butter is softened (not melted) to room temperature, which should still allow for easy creaming without the dough becoming overly loose.
Alternatively, if the cookies turn out too dry, it may be due to flour being too compacted in your measuring cup. Always spoon flour into the cup and level it off with a knife rather than scooping directly from the bag.
Serving Suggestions
These cookies pair wonderfully with a hot cup of coffee or a glass of milk, making them a perfect treat for your afternoon snack. If you're feeling extra indulgent, consider pairing them with a scoop of vanilla ice cream on top for a delicious dessert.
For a festive touch, you can drizzle some melted chocolate over the filled thumbprints or dust them with additional powdered sugar before serving to enhance their visual appeal. This not only makes them look more enticing but also adds an extra layer of sweetness.
Questions About Recipes
→ Can I use other nuts instead of hazelnuts?
Yes, you can substitute almonds or walnuts if you prefer, but the flavor will differ.
→ How do I store leftover cookies?
Store the cookies in an airtight container at room temperature for up to a week.
→ Can I freeze these cookies?
Yes, you can freeze them before baking. Just shape the dough into balls, freeze, and then bake from frozen for a couple of extra minutes.
→ What can I use instead of egg yolk?
You can replace the egg yolk with 1 tablespoon of unsweetened applesauce for a vegan option.
Chocolate Hazelnut Thumbprint Cookies
Created by: Sybil Hawkes
Recipe Type: Oven Inspiration
Skill Level: Intermediate
Final Quantity: 24 cookies
What You'll Need
For the Cookies
- 1 cup all-purpose flour
- 1/2 cup hazelnuts, finely ground
- 1/4 cup unsweetened cocoa powder
- 1/2 cup unsalted butter, softened
- 1/3 cup granulated sugar
- 1/4 cup powdered sugar
- 1 egg yolk
- 1 teaspoon vanilla extract
- 1/4 teaspoon salt
For the Filling
- 1/2 cup chocolate hazelnut spread
- 1/4 cup finely chopped hazelnuts (for garnish)
How-To Steps
Preheat your oven to 350°F (175°C) and line a baking sheet with parchment paper.
In a mixing bowl, cream together the softened butter, granulated sugar, and powdered sugar until light and fluffy. Beat in the egg yolk and vanilla extract. Slowly add the flour, cocoa powder, finely ground hazelnuts, and salt until combined.
Using your hands, form the dough into 1-inch balls and place them on the prepared baking sheet. Make an indentation in the center of each ball with your thumb.
Bake for 10-12 minutes, removing them from the oven when they are set but still soft. Allow them to cool slightly before filling.
Using a small spoon, fill each indentation with chocolate hazelnut spread and sprinkle with chopped hazelnuts.
Extra Tips
- Chilling the dough before baking will help keep the cookies from spreading too much. Feel free to experiment with different types of chocolate fillings or even fruit jam for a twist.
Nutritional Breakdown (Per Serving)
- Calories: 150 kcal
- Total Fat: 9g
- Saturated Fat: 4g
- Cholesterol: 15mg
- Sodium: 30mg
- Total Carbohydrates: 18g
- Dietary Fiber: 1g
- Sugars: 8g
- Protein: 2g